

Royal icing is an essential component in the world of cookie and cake decorating. Here we are using it to decorate sugars skulls made of real sugar. In this guide, I'm sharing exactly how I make colored royal icing to be used on our sugar skulls with a few tips along the way.
How to Make Colored Royal Icing for Sugar Skulls
Royal icing for sugar skulls isn't all that much different than icing that is used to decorate a sugar cookie. They both use the same ingredients in nearly identical amounts, however, this icing recipe will be thicker, and dry harder.
To make a small batch of royal icing, you will need the following ingredients:
- 4 cups confectioners’ sugar (powdered sugar)
- 3 tablespoons meringue powder
- 1/3 cup water
- An electric mixer with paddle or whisk attachment (hand mixer works too)
- Disposable decorating bags for icing
- Rubber band or an icing bag tie
If you’re having a sugar skull decorating party and want to make larger batches of royal icing, use the following recipe:
One 2-pound bag of confectioners’ sugar + 1/2 cup meringue powder + 2/3 cup water.
Step 1
Combine the confectioners’ sugar with meringue powder on low speed for a minute, then add the water. Keep mixing it on low until it starts to look like icing, then increase the mixing speed to medium-low (a 2 on the Kitchen Aid mixer I think).
If you're using a hand mixer, gradually increase the speed from low to medium-high as it thickens. Mix for 3-5 minutes until the icing begins to form stiff peaks.
After 3 minutes, start checking the consistency. If you feel like it’s too stiff, mix in one teaspoon of water at a time until it’s soft enough to pipe, but can still hold its peaks. If you're using a stand mixer with a paddle, the mixing time can take a little longer.
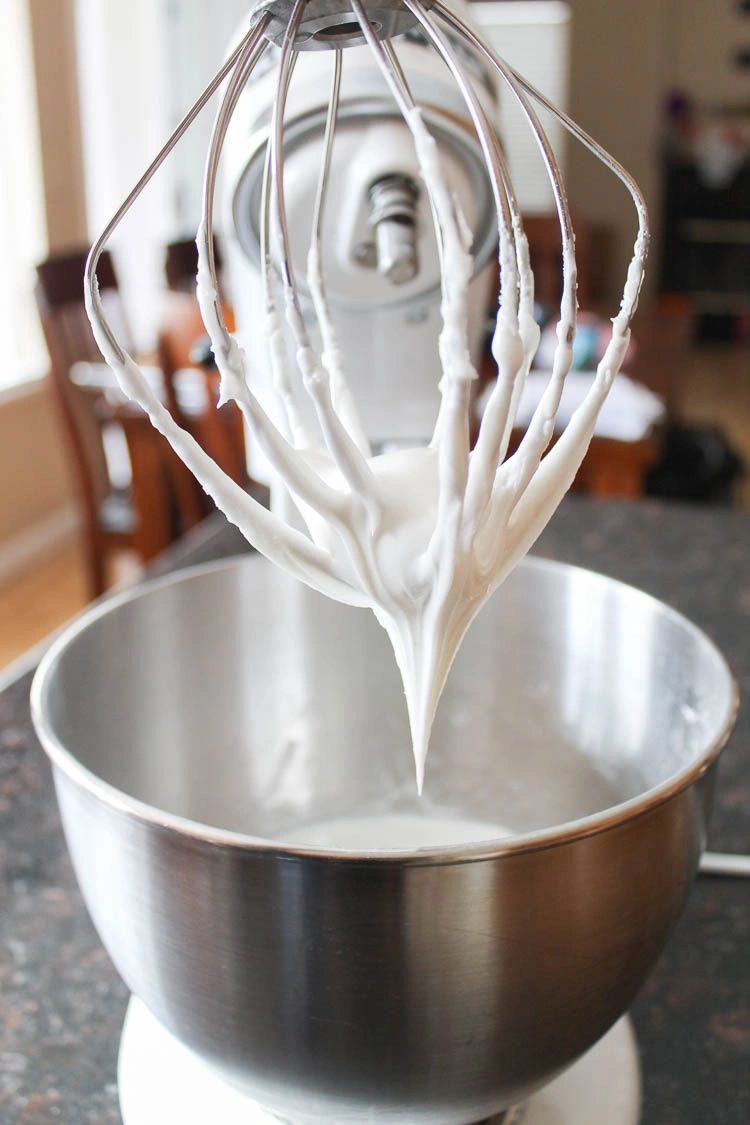
Tip: Be careful not to add too much water. A little goes a long way with royal icing, and if you're not careful, you can quickly end up with a flood consistency instead of a thick consistency. Flood icing will fall flat and drip off the sugar skull which is not what we're after here. The icing should be stiff, but still smooth and easy to spread with a spatula.
Step 2
Decide how many colors you are going to make and divide the icing into the same amount of bowls large enough to mix each color in. You should be able to get between 4-6 colors of icing out of this recipe.
Cover the bowls with plastic wrap or lids if you have some that fit. Keep the icing covered until you are ready to color them.
Step 3
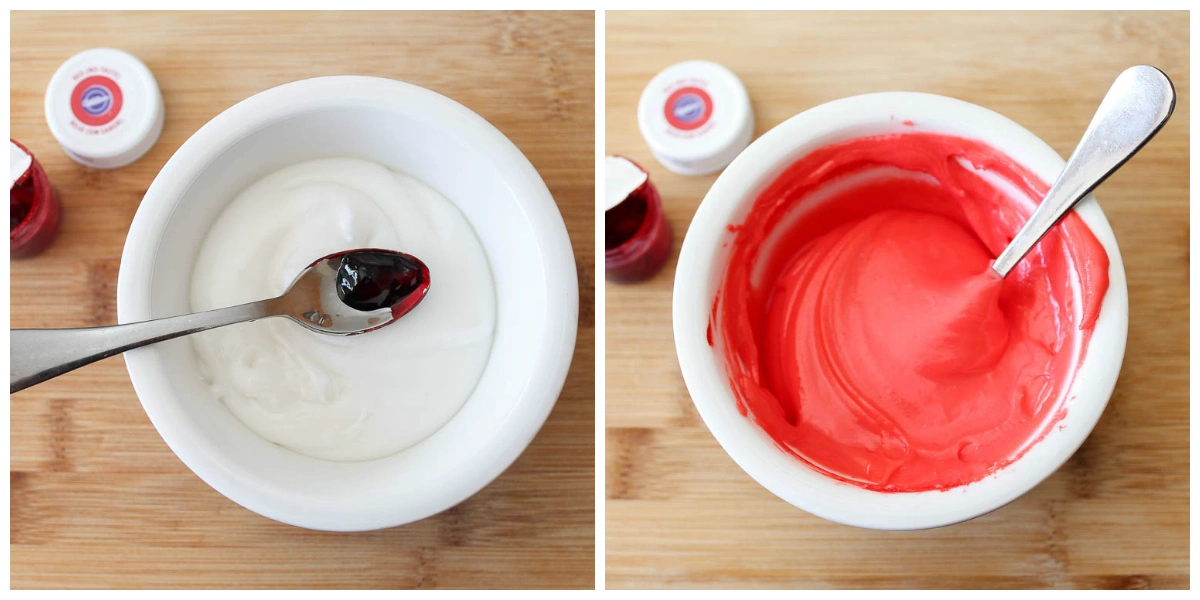
Starting with one bowl, add a few drops of concentrated food coloring. Mix well with a spoon or silicone spatula. Add a few more drops of coloring if needed after each mixing.
Some colors can take a few hours to an entire day to fully develop. Red is one of those colors. I can't tell you how many times I've wanted to throw my red icing out the window and yell at it on the way out. So be patient. If you're not sure about the color, you can give it time to develop in the bowl overnight before transferring it to an icing bag. Just make sure it is well covered. I typically cover the top of the icing with plastic wrap before covering the bowl with its lid.
Repeat this process again with the next bowl of white icing and gel color.
Step 4
Fill a 10" disposable icing bag with each icing color.
To fill your icing bags, fold the top portion of the bag outward to avoid making a mess of the outside of the bag. If you have a difficult time filling the piping bags, use a tall skinny cup to hold the bag upright for you.
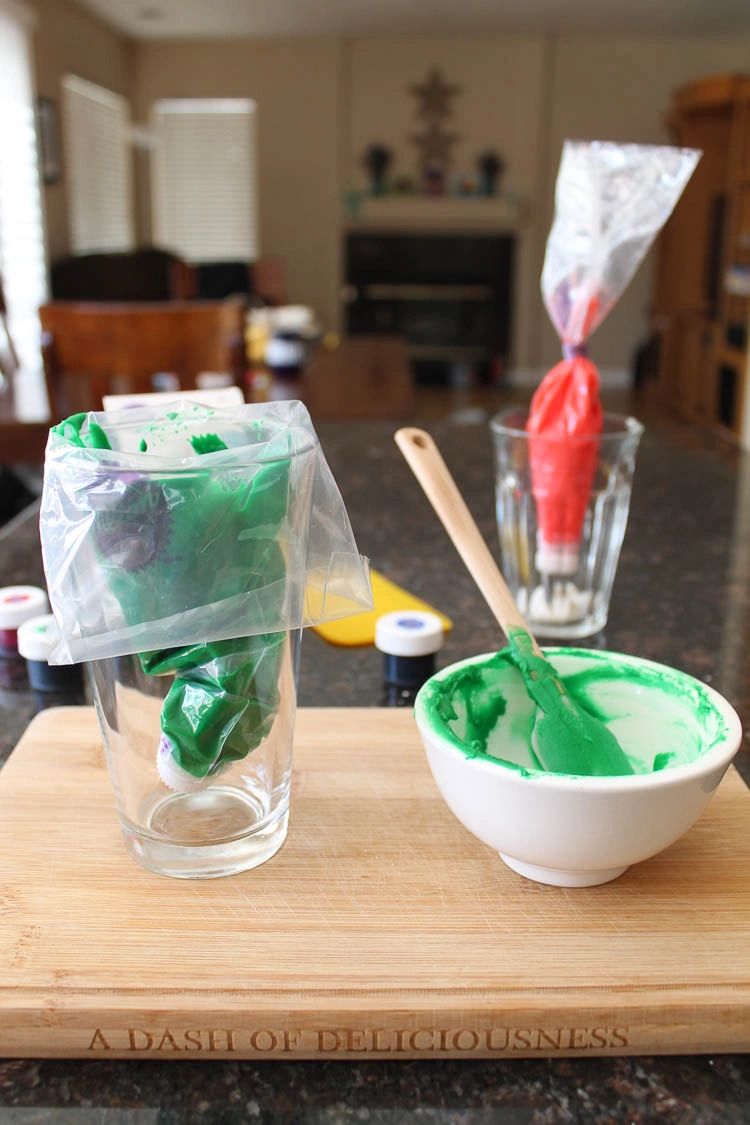
When the piping bags are filled, use a scraper to push the icing down toward the tip until you see the icing start to come out. This will help eliminate some of the air bubbles in the bag.
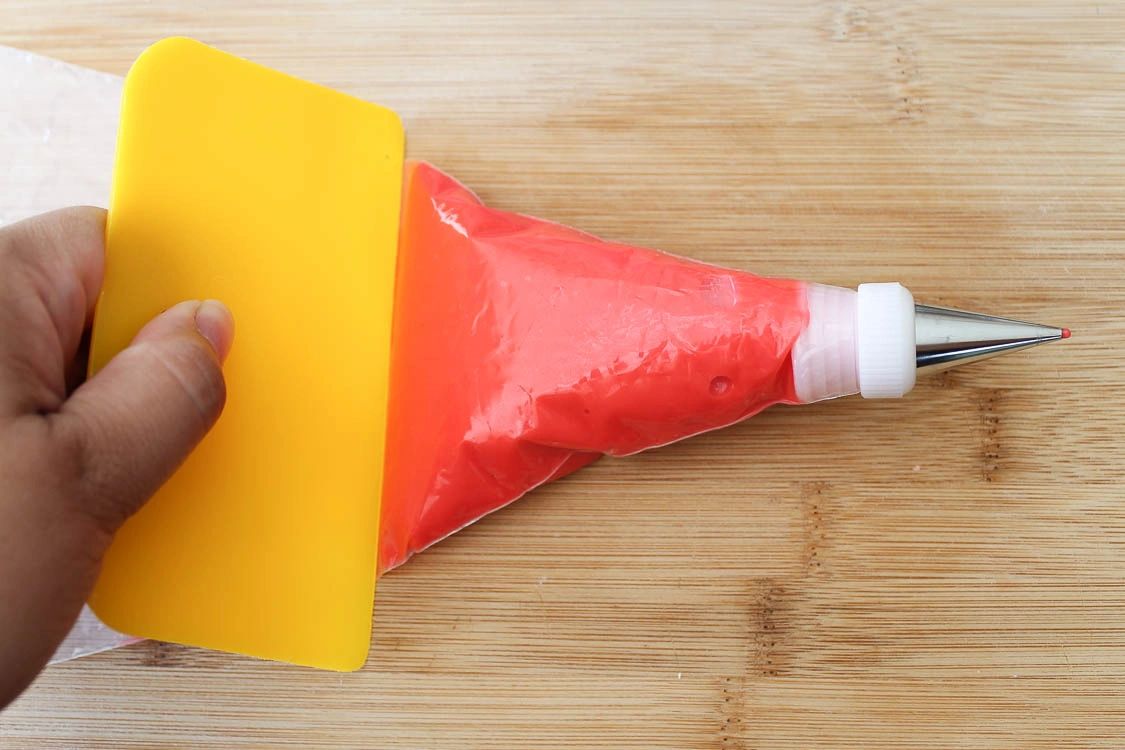
Tie the opening into a knot or with a rubber band.
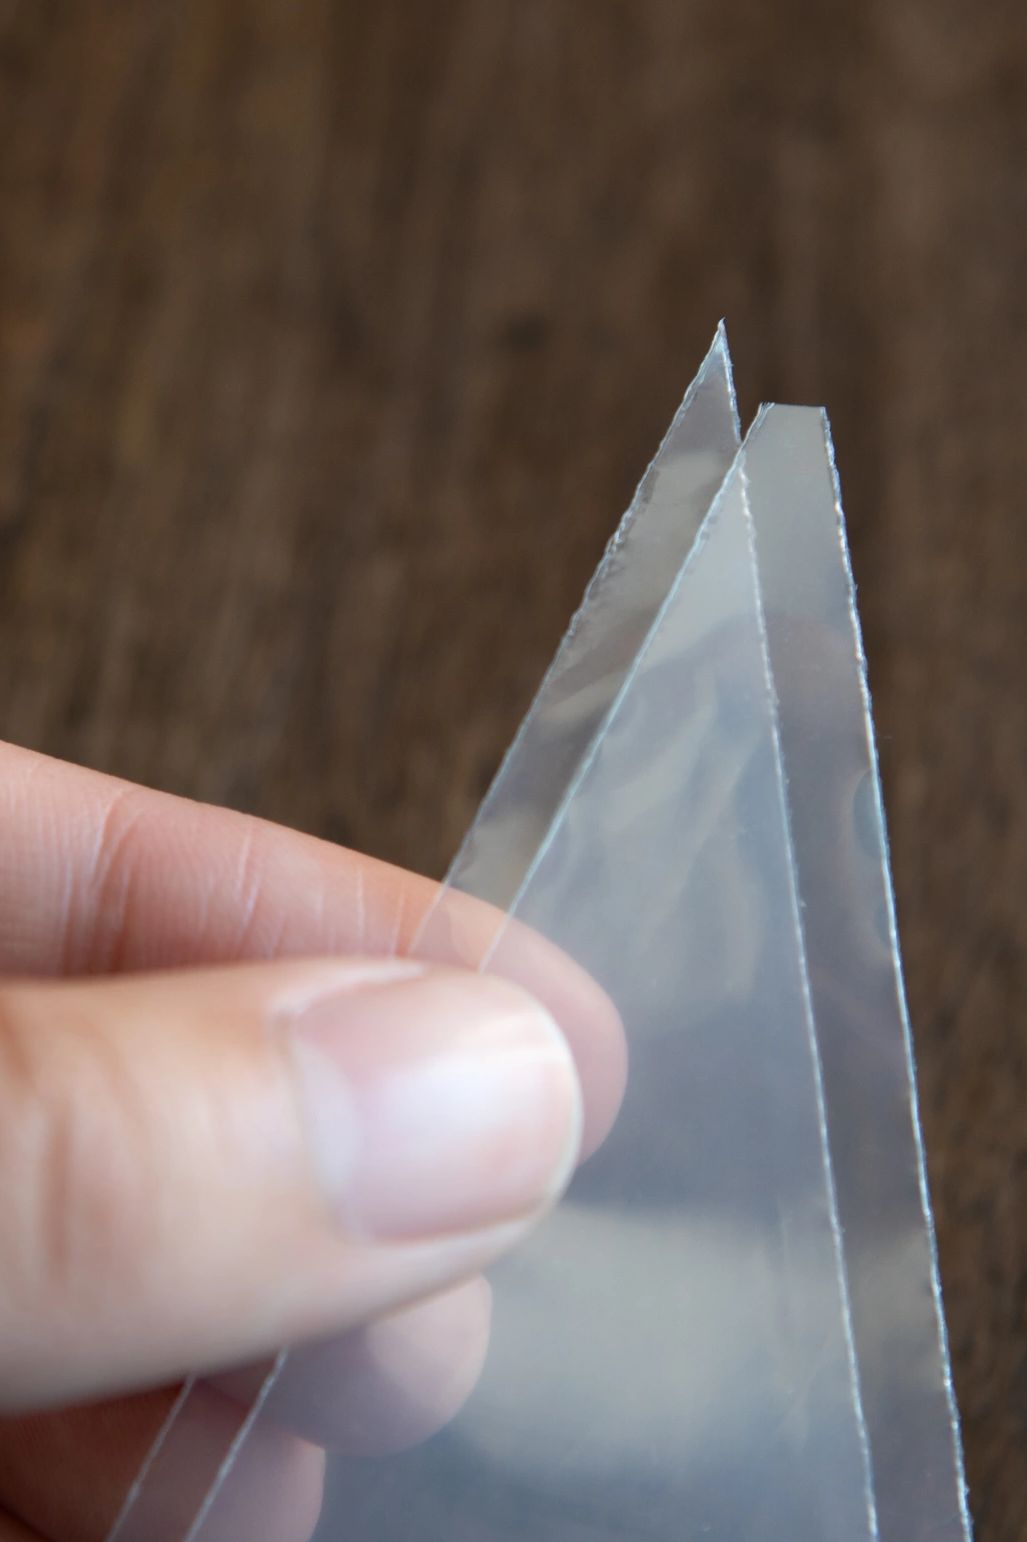
If you’re not using a decorating tip or coupler, you can now cut off the tip of the bag to make a hole. Start small with the hole. Cut about 1/8" off the tip of the icing bag and test it. If it's too difficult to squeeze, cut a little more off. Keep testing the icing each time you cut the tip until you are happy with the size of the tip. Be sure to use your best scissors too!
How much icing do you need to decorate sugar skulls?
The recipe above is enough to decorate approximately 4 large skulls, or 8-10 small skulls.
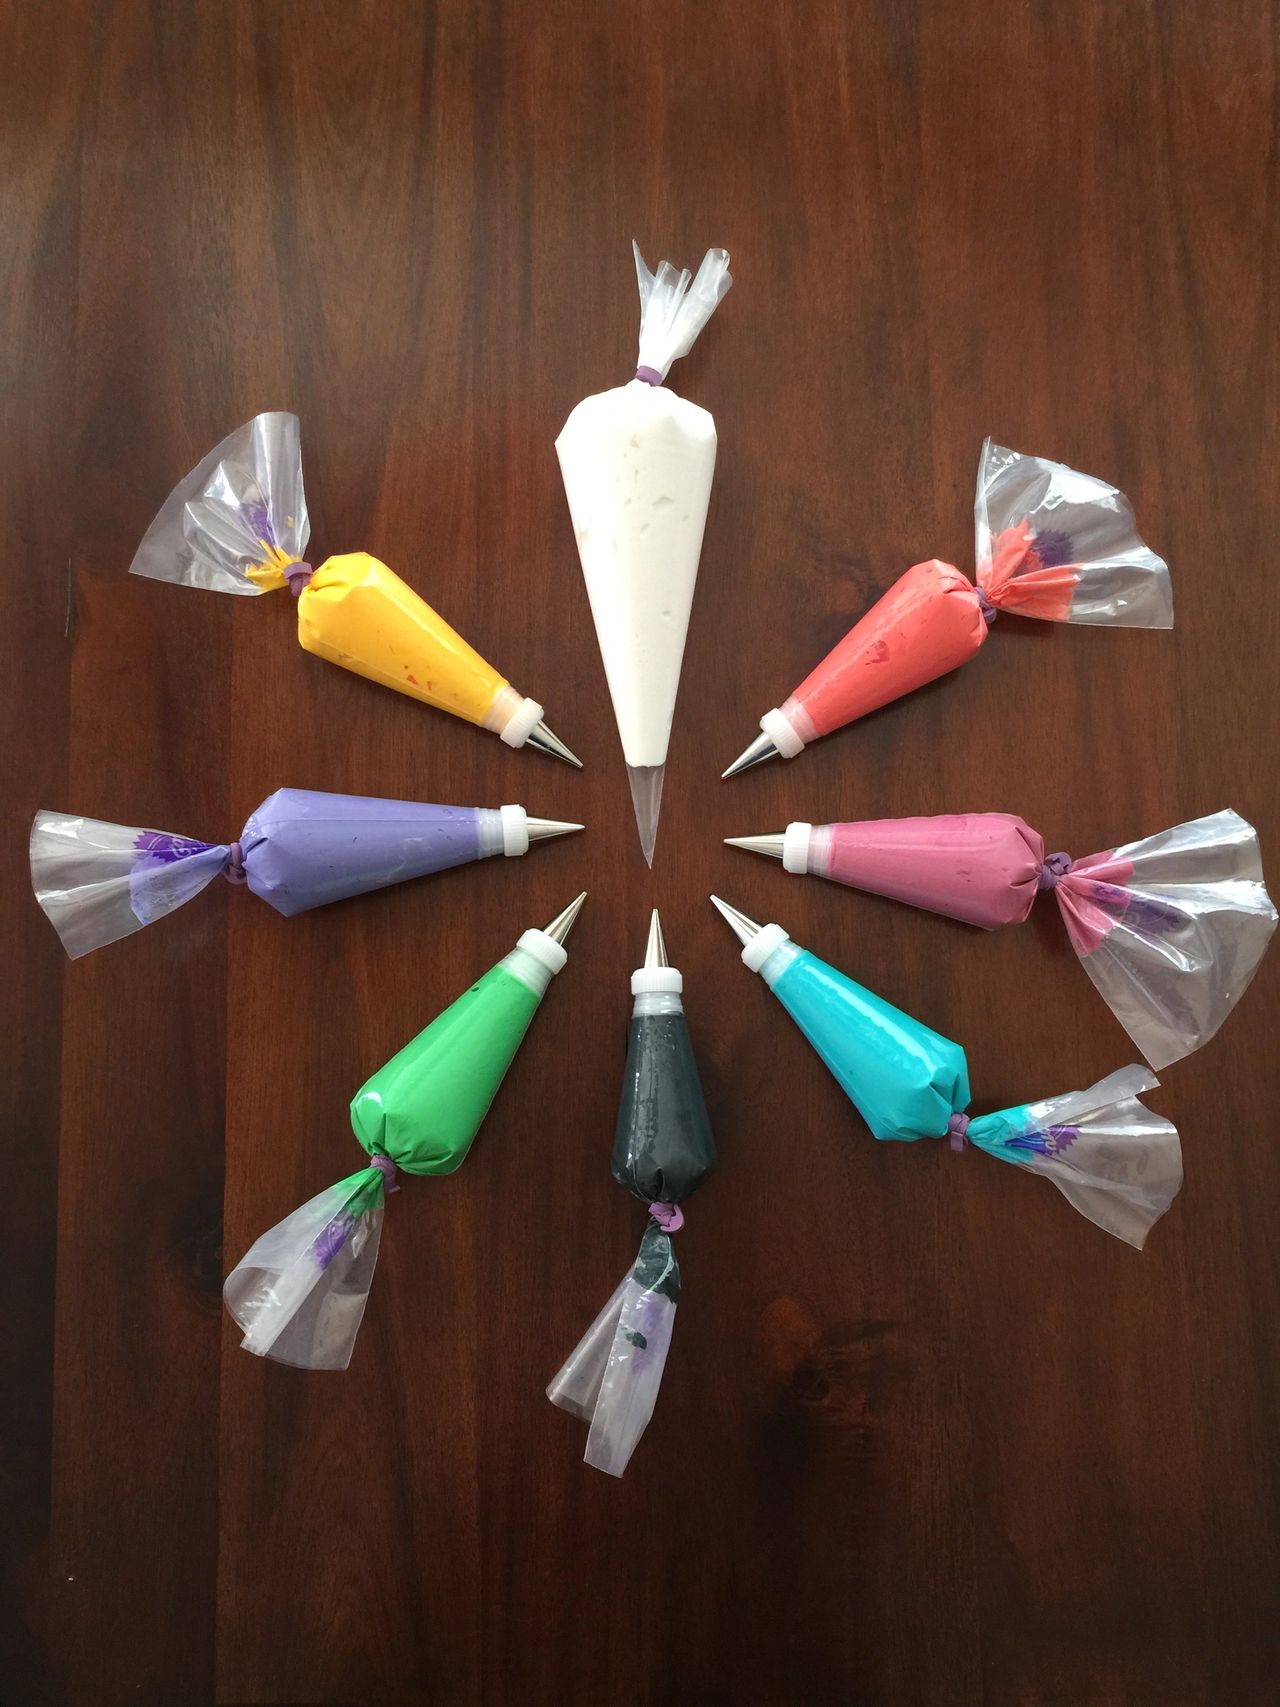
If you're hosting a larger party and need to make a fresh batch of icing, a 2-pound bag of confectioners' sugar should get you about 7 or 8 colors. For perspective, the bags in the picture below are 12" and are what I got out of a 2-pound bag of confectioners' sugar. This was plenty for a party of 12 people.
Tips for Decorating Sugar Skulls with Royal Icing
It’s fun to use a variety of piping tip sizes. Some of my favorite Wilton piping bag tips are numbers 2, 3, 16, 67, and 224.
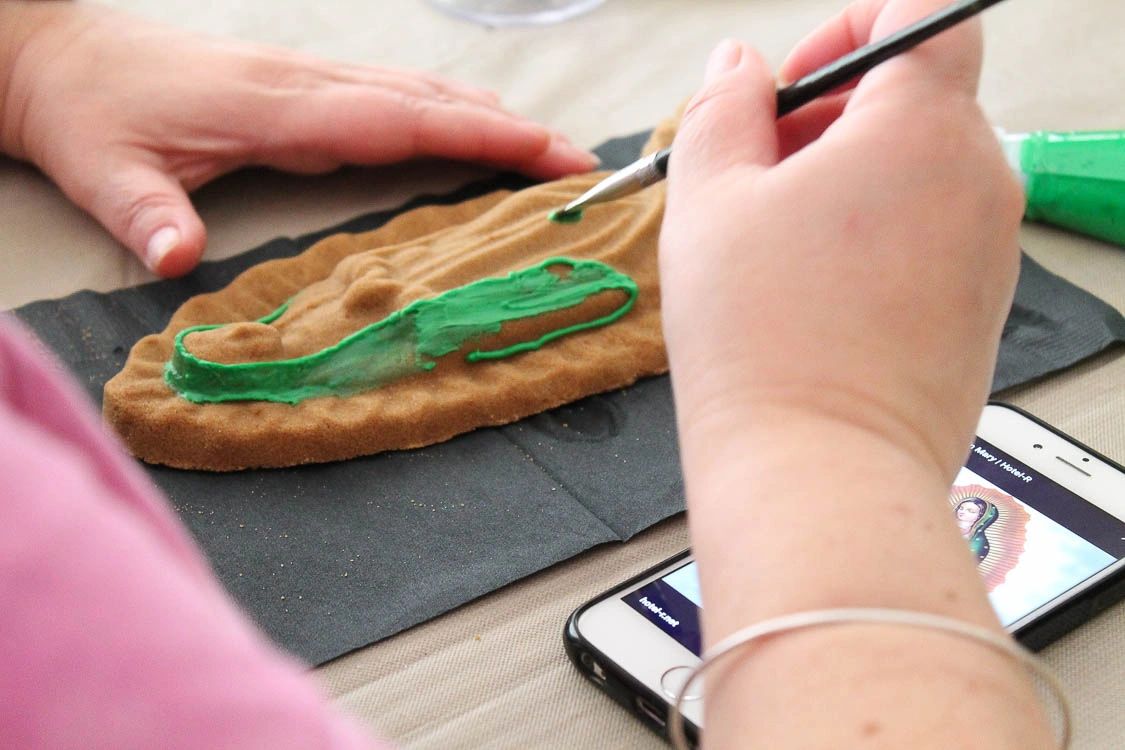
Wet paintbrushes work well to help spread or flatten the icing. We had a few small bowls around the table with a small amount of water to dip the paintbrushes in to clean them. Just make sure you remove any excess water by wiping the brush lightly on a napkin so that it’s not dripping water onto the sugar skulls.
Toothpicks are helpful if an icing bag has been sitting too long and has formed a crusted layer in the metal piping tip.
If you're not using piping tips, you can squeeze out the dried icing from the tip of the bag with your fingers. Be careful not to pull the tip of the bag too hard or pinch too tight with your nails because it's possible to damage the tip opening in doing so.
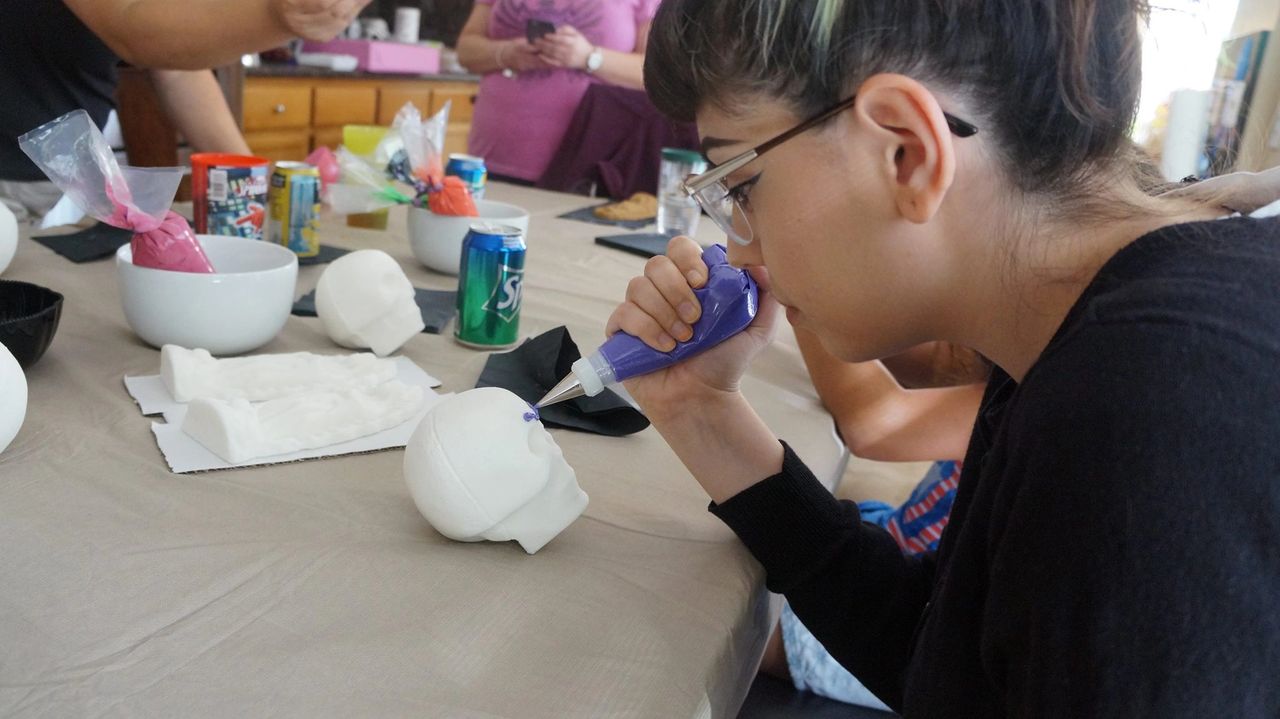
After decorating your sugar skulls, let them dry for a few hours. Overnight is best.
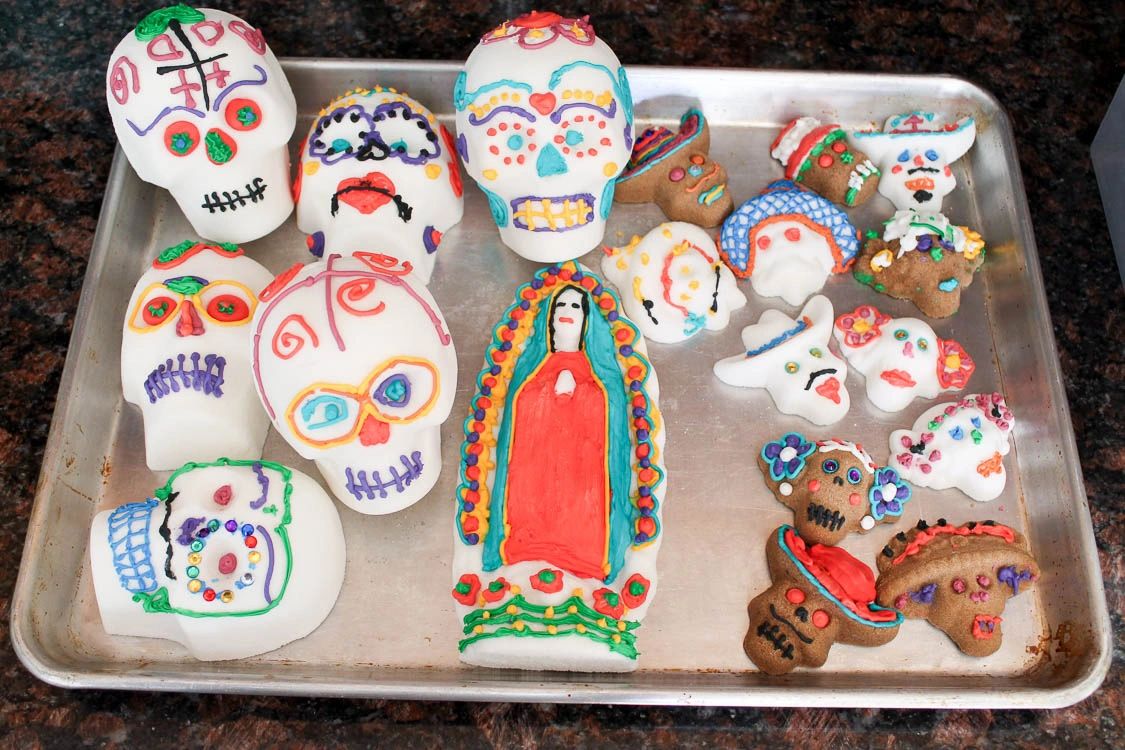
I hope this post has been helpful to you. Remember to have fun and enjoy this time with your family, children, guests, or whoever it is you are sharing this creative experience with. And please do share your art with me by tagging me on Instagram!
Thanks for visiting!
-Stephanie